










A Hugo theme for a personal portfolio with minimalist design and responsiveness.
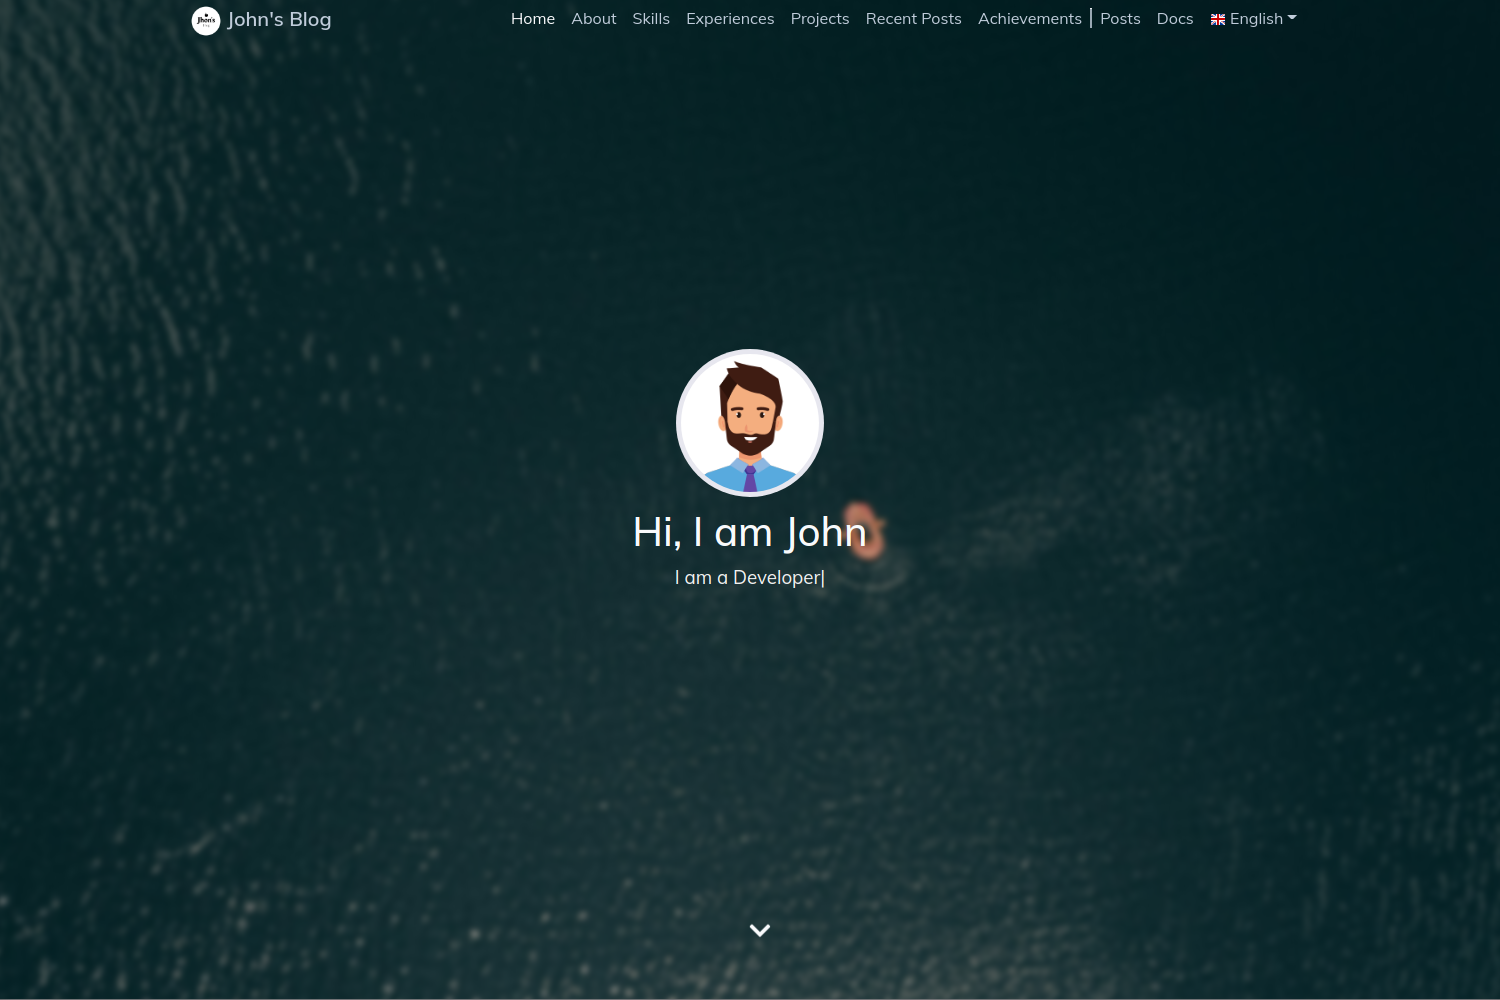
- Portfolio: https://portfolio.hugo-themes.com
- Blog (WIP): https://blog.hugo-themes.com
- Docs (WIP): https://docs.hugo-themes.com
- Documentation: toha-docs.netlify.app
- Minimalist Design
- Fully Responsive
- Multiple Language Support
- Carefully Designed Cards
- Experience Timeline
- Achievement Gallery
- Sidebar to Categorize the Posts
- Short Codes
- Lazy Load Posts
- Analytics Support
- GoatCounter
- counter.dev
- Google Analytics
- Matomo/Piwik
- Umami
- Comment Support
For more details about the features please visit here.
Add a nonempty details block to a skill in data/<language>/sections/skills.yaml
to show a “View details” button. Existing skills remain unchanged when details
is absent or empty. No additional enable flag is needed.
skills:
  - name: Cloud Computing
    logo: /images/sections/skills/cloud.png
    summary: Building and operating cloud services.
    details:
      summary: I design reliable services and automate infrastructure.
      items:
        - name: AWS
          summary: Production infrastructure and application delivery.
          items:
            - name: Compute and scaling
              summary: Operating EC2 fleets and planning capacity.
              items:
                - name: Auto Scaling
                  summary: Scaling capacity with demand.
            - name: Serverless
              summary: Building services with Lambda and API Gateway.
        - name: Microsoft Azure
          summary: Deploying applications and managed databases.
The existing skill summary stays on the card. details.summary is an optional
introduction in the details view. Each item needs a name; its Markdown summary
and child items are optional. Name-only items and summary-only details are valid.
Empty or nameless items are ignored. Details reuse the skill's existing name and
logo. Existing url links remain available independently from the details button.
Details open in a centered dialog on desktop and a full-height view on small screens. Readers can expand groups independently and close the dialog with its close button, Escape, or the backdrop. Without JavaScript or native dialog support, the same content remains readable below the skill cards, linked from each card. New action labels use English in bundled locales until translated. The feature supports text and nested items; it has no charts, ratings, or styling fields.
Code blocks have a compact language (or fence title) header automatically.
Copying and folding are configured under params.features.codeBlock.
Folding is an opt-in setting. Long blocks show a short
preview followed by a “Show all” button; short blocks remain fully visible.
params:
  features:
    codeBlock:
      copyButton:
        enable: true
      folding:
        enable: true
        previewLines: 8
There is no enable/disable setting for the code block header. Folding defaults to
false; previewLines must be a positive integer, with missing or invalid values
using 8. Set folding.enable: false to show all code.
codeBlock.copyButton.enable controls copying for both the panel and code outside
it. An explicit new copyButton setting takes precedence, including enable: false.
If copyButton is absent, the legacy params.features.copyCodeButton configuration
is used unchanged. If neither setting is present, copying defaults to disabled. No extra Hugo or npm modules and no
changes to your syntax-highlighting or line-number configuration are required.
Copy always includes the complete original snippet, including lines outside the preview, without line numbers. The controls work with keyboard navigation and screen readers. Without JavaScript, and when printing, the complete code is shown. Other languages fall back to the English action labels until translated.
When Hugo highlighting is enabled (the default), use fence attributes to title a block, change its preview size, or start it expanded:
```go {title="main.go" data-max-lines=4 data-expand=true linenos=false}
package main

func main() {
    println("Hello, Toha!")
}
```
data-max-lines overrides the preview size for that block. data-expand=true only
changes its initial state; readers can still fold long blocks. Folding must be
enabled in the site configuration. With markup.highlight.codeFences: false,
global folding and copying still work, but Hugo discards custom fence attributes.
The effective copy setting also controls code outside the panel, such as the Hugo
highlight shortcode. Sites with a
custom code-block render hook must adopt the panel markup in that hook to use it.
- English
- বাংলা
- Français
- Indonesian
- Deutsch
- Español
- 简体中文
- 繁體中文
- हिन्दी
- Italiano
- 日本語
- 한국어
- русский
- suomi
- Tiếng Việt
- Azerbaijan
- Turkish
- Arabic (العربية)
- Português Europeu
- Català
- Português Brasileiro
- Nederlands
- Hebrew
To know more about how to translate your site, please visit here. Follow, the data and post format from this example site.
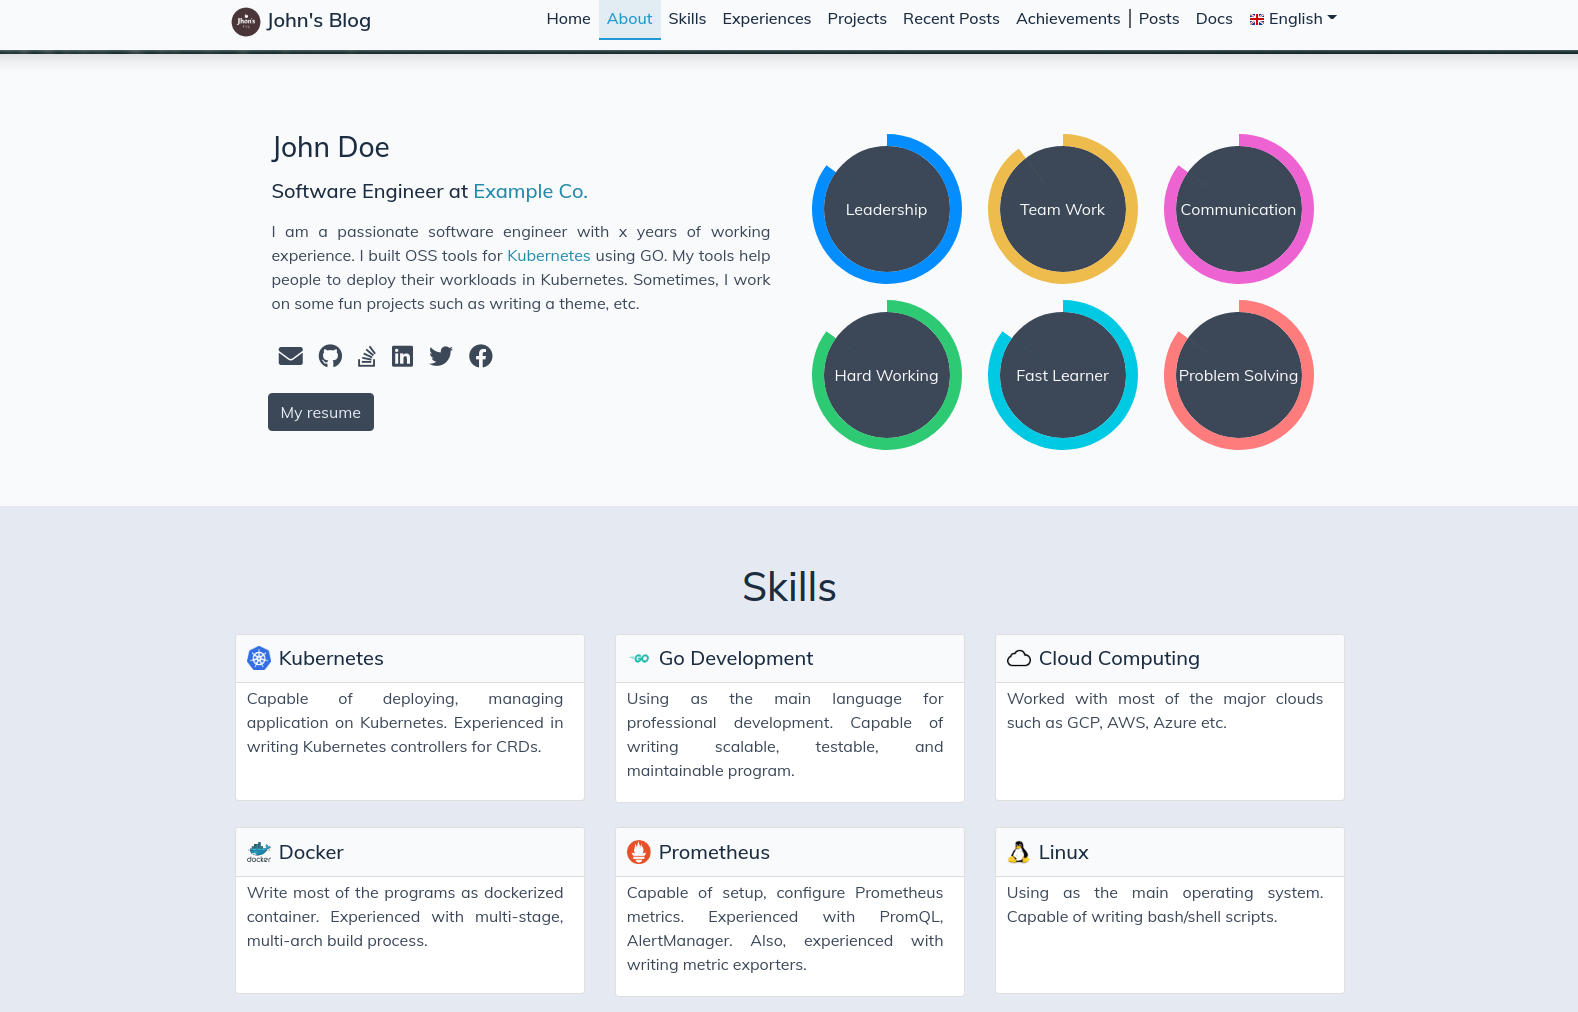
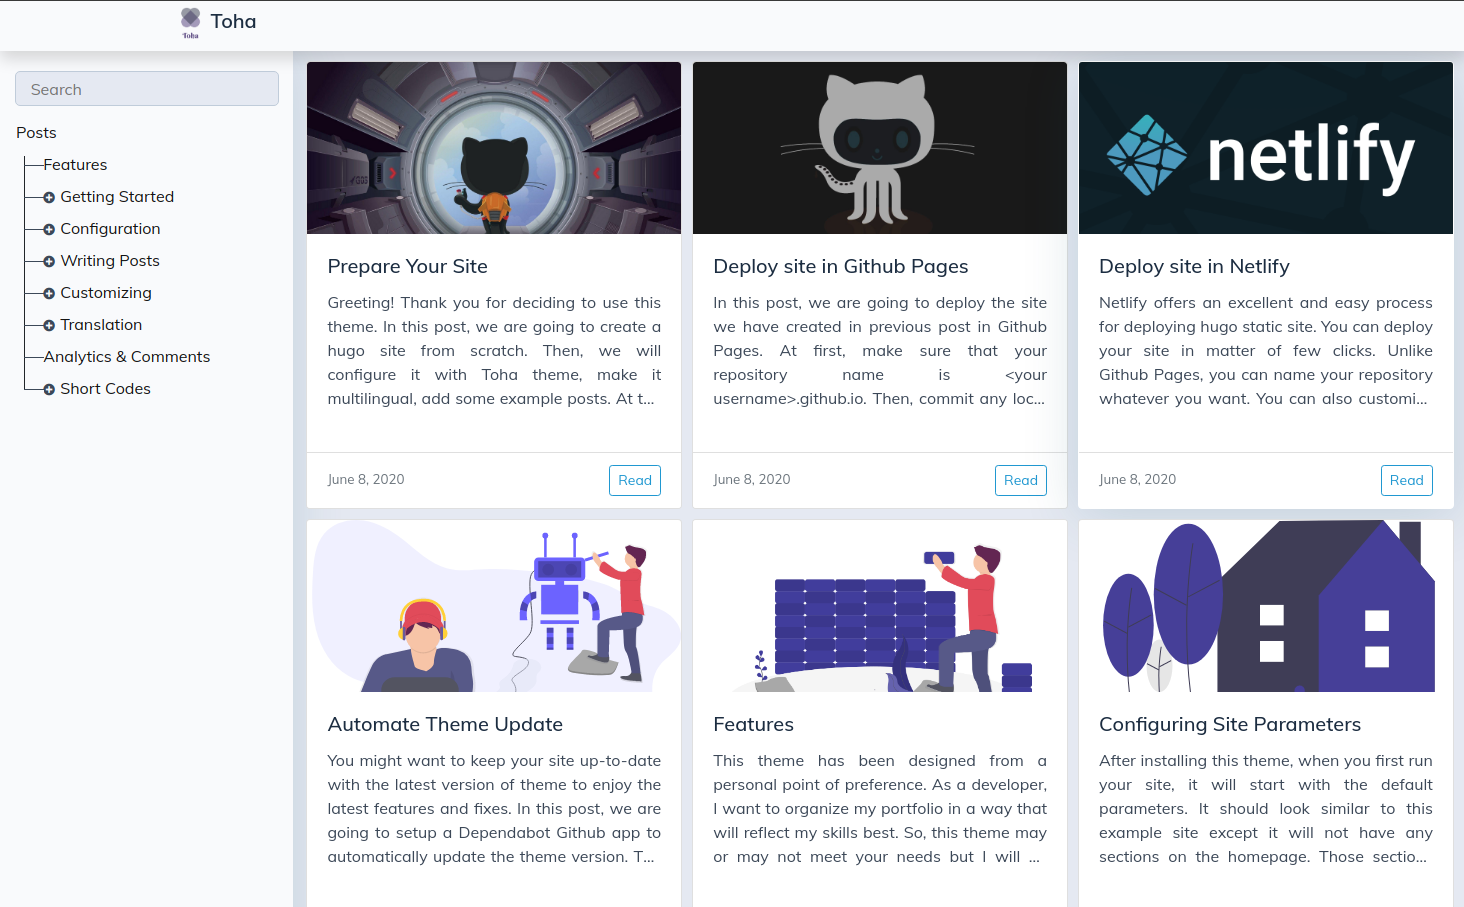
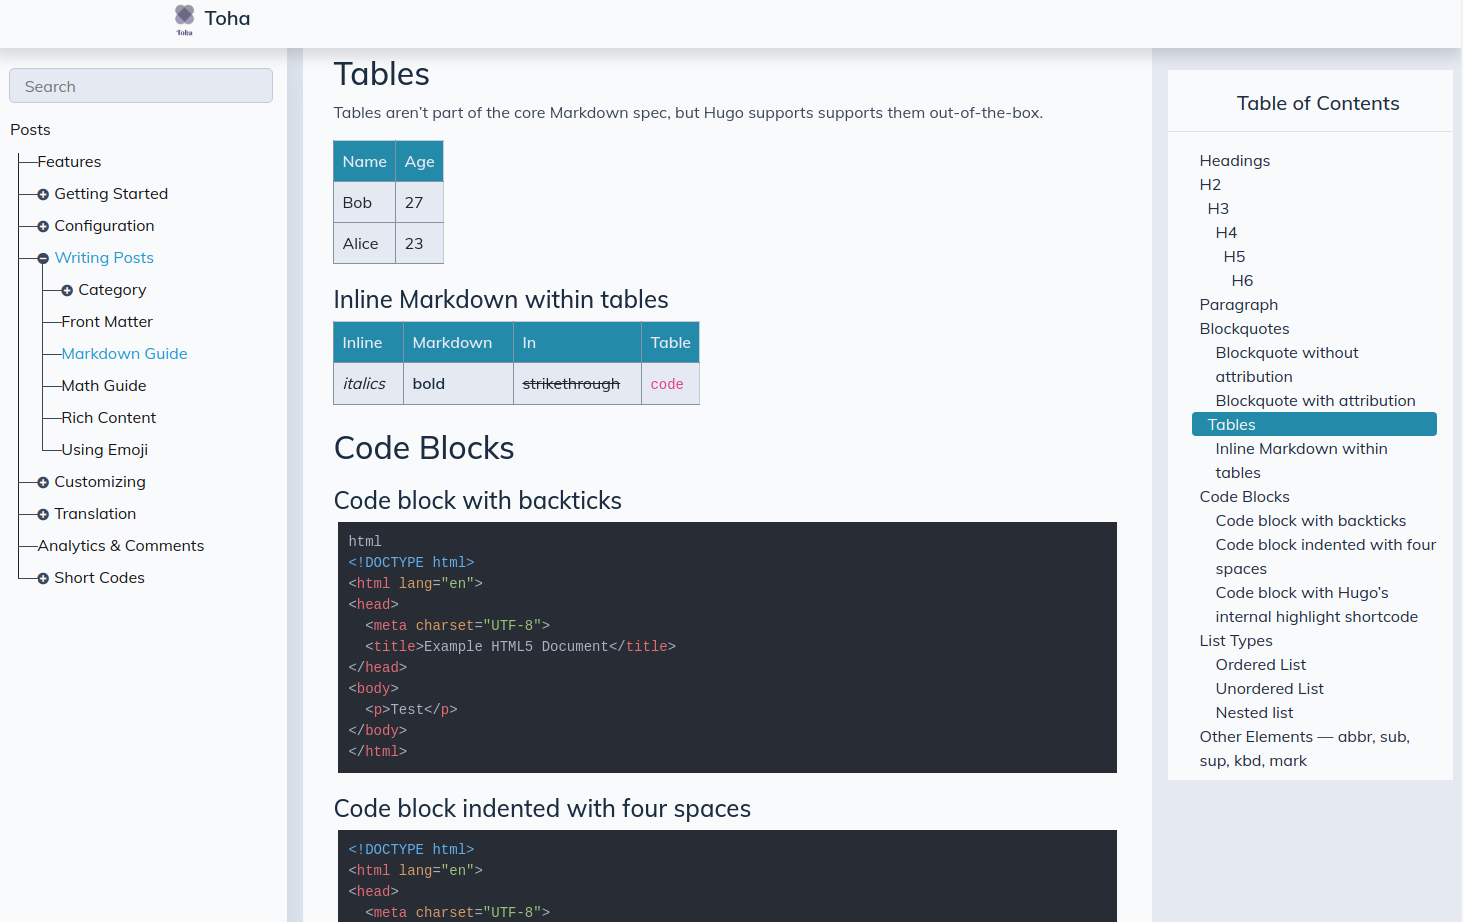
Here are few screenshots from the example site.
- Hugo Version 0.163.0 (extended) or higher
- Dart Sass (installed by
mise installfor this repository) - Go language 1.19 or higher (require for hugo modules)
- Node version v18.x or later and npm 8.x or later.
The easiest way to use this theme is to fork toha-example-site sample repo.Then change the configurations according to your need.
If you want to start from scratch, then follow these steps:
At first, initialize Hugo modules in your repo. This will create a go.mod file.
hugo mod init github.com/<your username>/<your repo name>Now, in your hugo.yaml file, add a module section.
# Use Hugo modules to add theme
module:
  imports:
    - path: github.com/hugo-toha/toha/v4
Check this sample hugo.yaml for further reference.
Now, run this command to load this theme as your module.
hugo mod tidyNow, you can run your hugo site locally with the following steps:
Now run the following command to generate node dependency configuration. This will create the a package.json file in you repo.
hugo mod npm packInstall the node dependencies using following command:
npm installNow, run you site locally using following command.
hugo server -wWhen you run your site for first time, it will start with the default parameters. It should look similar to the example site. However, it will not have any sections in the homepage as we haven't configured them yet. You can configure your site by following the guides from here.
Here, are some handy shortcodes you can use with this theme.
You can contribute to this theme in various ways. You can report a bug, file an feature request, send a PR, share your thoughts etc.
Pull requests are most welcome and I will be happy to review. Just follow the following principles:
- Keep it simple.
- Keep it consistent with the design.
- Use as few dependencies as possible.
- Have patience.
I am not a web developer. I have created this theme for my personal needs. So, it is reasonable to have some flaws in the codes. Feel free to open issues and PRs acknowledging the problems.
For local development, you can make changes in the theme submodule and test the changes against your own site or this example site locally.
At first, fork this repo. Then, follow the following steps to use the forked theme for local developments,
Example sites live under exampleSites/. The portfolio example in exampleSites/portfolio lets you run the theme locally. Follow the steps below to run it.
We use jdx/mise to simplify managing dependencies and running locally. Please, install it following the instruction from here.
Install the all the necessary tools by running:
mise installThis will install hugo, go, node and other tools that are necessary to run this project to appropriate versions.
Now, run the site locally using following command.
mise run portfolioChanges to the theme are reflected immediately on the running site. Configure the portfolio example in exampleSites/portfolio/hugo.yaml, and add its content and data under exampleSites/portfolio/content and exampleSites/portfolio/data.
For the opt-in docs layout and shared component gallery, run:
mise run docsIts content and configuration live in exampleSites/docs/. See modern components and layouts for component contracts, layout selection, and the modern/legacy asset boundary. mise run build-docs builds this example for production.
For the modern blog homepage with a hero, topic previews, and shared search dialog, run:
mise run blogIts content and configuration live in exampleSites/blog/. Use mise run build-blog for a production build. See choosing a homepage for blog configuration and combining blog, docs, and portfolio pages.
mise run example-portfolio and mise run example-site remain aliases for the portfolio development server. Use mise run build-portfolio to build the portfolio example, or mise run build to build all example sites. mise run check runs the example builds, lint, and regression tests.
If you want to run your local development against your own site, follow the following steps:
Replace the theme module:
Open your site's go.mod file and replace the github.com/hugo-toha/toha/v4 with your forked repo's path. For example, if your forked repo is github.com/<your-github-user>/toha, then replace the github.com/hugo-toha/toha/v4 with github.com/<your-github-user>/toha/v4.
module github.com/hugo-toha/hugo-toha.github.io

go 1.19

require github.com/hugo-toha/toha/v4 v4.0.1-0.20231229170427-d3968ca711ef // indirect

replace(
    github.com/hugo-toha/toha/v4 => github.com/<your-github-user>/toha/v4 <git branch>
)
For interactive development, you can replace the theme with your locally cloned fork. For example, if you have cloned your fork in /home/my-projects/toha, then replace the github.com/hugo-toha/toha/v4 with /home/my-projects/toha.
module github.com/hugo-toha/hugo-toha.github.io

go 1.19

require github.com/hugo-toha/toha/v4 v4.0.1-0.20231229170427-d3968ca711ef // indirect

replace(
    github.com/hugo-toha/toha/v4 => /home/my-projects/toha
)
Update dependencies:
# update hugo modules
$ hugo mod tidy
# install dependencies
$ hugo mod npm pack
$ npm install
Run your site locally:
hugo server -wFrom there you can make changes to the source code of the theme while testing with your running Hugo site or the example site.
When the changes look good, commit and push them to your fork.
# stage all the changes
$ git add .
# commit the changes with a meaning full commit message
$ git commit -m "A meaningful commit message"
# push the commit to your fork
$ git push my-fork my-feature-branch
Then, open a PR against main branch of hugo-themes/toha from the my-feature-branch branch of your own fork.